

How To Customize Colored Acrylic Box?
Customizing a colored Acrylic Box starts with defining color, transparency, dimensions, wall thickness, structure, printing, and intended use. These decisions should be confirmed together because changing one specification can affect the appearance, fabrication method, strength, production cost, and consistency of the finished box.
Table of Contents
Start With the Intended Function
Color selection should not be the only consideration. First determine what the box will contain and how users will interact with it.
A merchandise display box may need transparent colored panels so the contents remain visible. A storage box can use opaque acrylic for stronger visual coverage. Decorative packaging may combine clear and colored panels, while a countertop organizer can require dividers, lids, handles, slots, or removable components.
From a manufacturing perspective, knowing the application helps us evaluate whether the original concept is practical before material is cut.
Select Color and Transparency
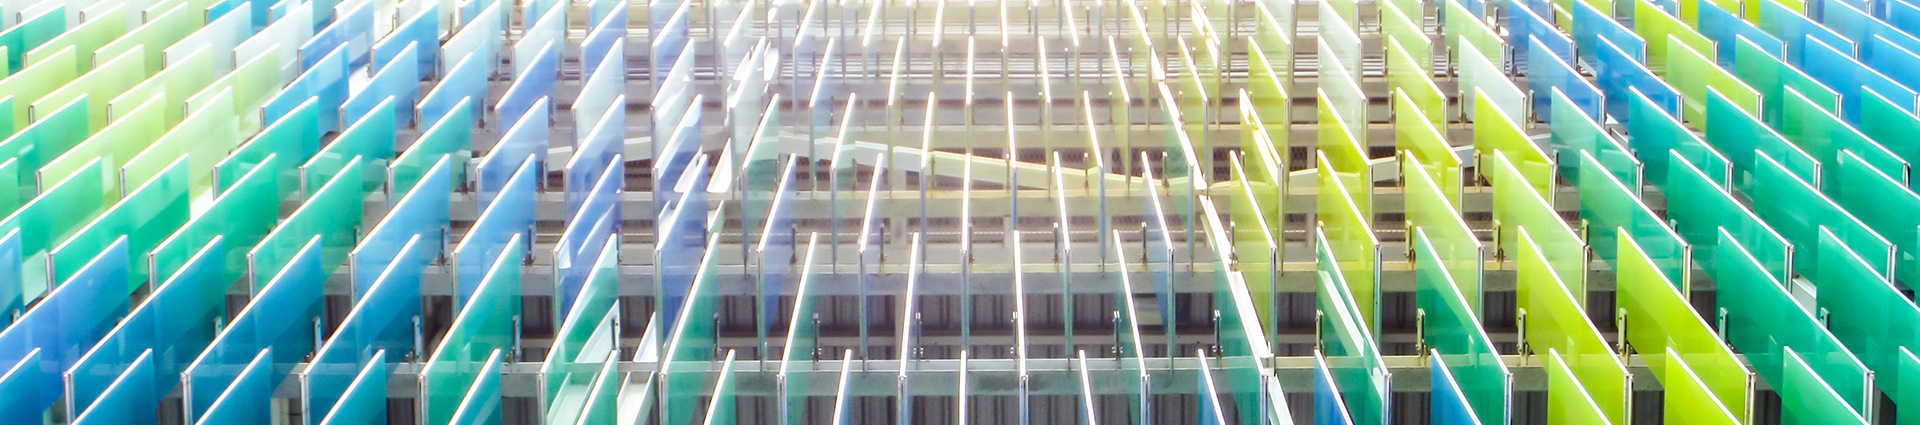
Colored acrylic can create very different effects depending on material selection. Buyers commonly choose among transparent tinted, translucent, and opaque appearances.
For repeat orders, color consistency deserves particular attention. A physical sample, defined reference, or approved pre-production sample provides a clearer production target than descriptions such as “light blue” or “dark red.”
The following specification checklist can simplify communication:
| Item | Details to Confirm |
|---|---|
| Color | Reference/sample and acceptable appearance |
| Transparency | Transparent, translucent, or opaque |
| Size | External and internal dimensions |
| Thickness | Based on size and structural need |
| Structure | Lid, hinge, drawer, slot, divider |
| Decoration | Logo, text, pattern, printing |
| Packaging | Individual protection or bulk packing |
Decide How the Box Should Be Constructed
Different designs require different fabrication processes. Straight panels can be precision cut and assembled, while curved or folded structures may require heat bending. Exposed edges can be polished to create a cleaner finish.
Complex designs should also account for tolerances between lids, drawers, inserts, and other interacting components. Leaving insufficient clearance can make parts difficult to open or assemble.
When developing a custom colored box, we therefore examine drawings from both an appearance and manufacturing perspective. Simplifying an unnecessary joint or adjusting a bend location can improve production stability without changing the overall design concept.
Add Branding Without Overloading the Design
Logos, instructions, patterns, and decorative graphics can be applied through suitable printing or surface-decoration methods. UV printing is useful for detailed graphics, while screen printing can suit repeated graphic elements depending on the design.
The location matters just as much as the technique. Branding should remain visible when the box is filled, stacked, placed on a shelf, or viewed from its normal display angle.
Confirm a Sample Before Bulk Production
Prototyping provides an opportunity to check actual color, dimensions, assembly, printing position, edge finishing, and overall appearance. This is particularly important when multiple components must fit together.
As a colored acrylic supplier, we prefer specifications to be finalized at the sampling stage so production standards can be carried consistently into the batch.
Accurate drawings, clear color references, realistic quantity information, and packaging requirements give the factory a strong starting point. The result is a colored acrylic box that is not merely visually attractive but also practical to manufacture repeatedly and efficiently.